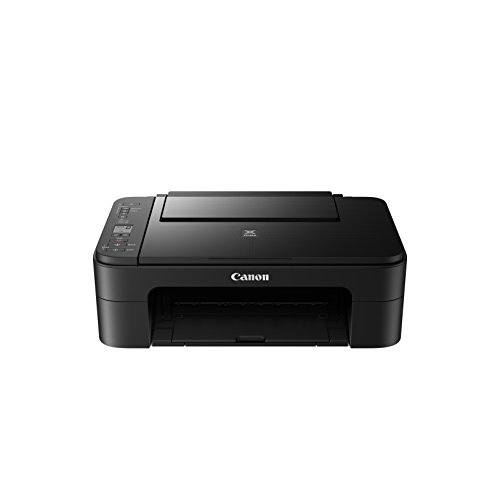
Say Goodbye to Wired Connections: How to Connect Your Printer to WiFi
We live in a world where everything has become wireless, including our printers. Connecting your printer to WiFi is the most cost effective and time efficient way to print. Knowing how to connect your printer to WiFi can save you from having to buy expensive cords and from having to switch between two computers every time you want to print something. Read on for more detailed instructions on how to set-up your wireless printer connection.
Steps to Connect Your Printer to WiFi
- Step 1: Check to see that your printer has a built-in WiFi capability. The majority of modern printers have it.
- Step 2: Make sure that your computer and printer share the same wireless network. Both need to be connected to the same router.
- Step 3: See if your printer has a setup disk that allows it to automatically connect to your wireless network. Most modern printers have such a disk and they make setup much easier.
- Step 4: If your printer does not have a setup disk, go to your computer’s control panel and select “Printers and Faxes”. From there, click the “Add a Printer” button and follow the instructions for connecting to a wireless printer.
- Step 5: If you are prompted for a username and password, use the ones that were provided by your router manufacturer.
- Step 6: Once the setup is complete, test your connection by printing a test page from your computer.
Tips for Connecting Your Printer to WiFi
- Make sure that your router is functioning properly and that you have a strong signal strength.
- If you are having trouble connecting, try restarting your computer and router.
- If your WiFi connection is still not successful, you can purchase an Ethernet cable and connect your printer directly to your router.
Having a wireless printer connection is extremely convenient and will help you save time and money. Following the steps outlined above will ensure that your printer is connected to WiFi in no time.


Leave a Reply